

You buy a bunch of fresh mint for one recipe. A pitcher of iced tea, maybe, or a little sauce for the lamb. You use a handful of leaves, and the rest sits in the fridge until it turns black and slimy.
Then next time, you buy another bunch. We’ve all done it.
Here’s the good news. Those sprigs aren’t finished.
Stand a few stems in a glass of water on the windowsill, and in a week or two little white roots start to grow. Pot them up and you’ve got a real, living mint plant. From the grocery store.
This is one of the easiest projects in the whole regrow-your-groceries series, honestly. No seeds. No nursery plant. No green thumb required.
Let me walk you through how to grow mint from a grocery store bunch, start to finish.
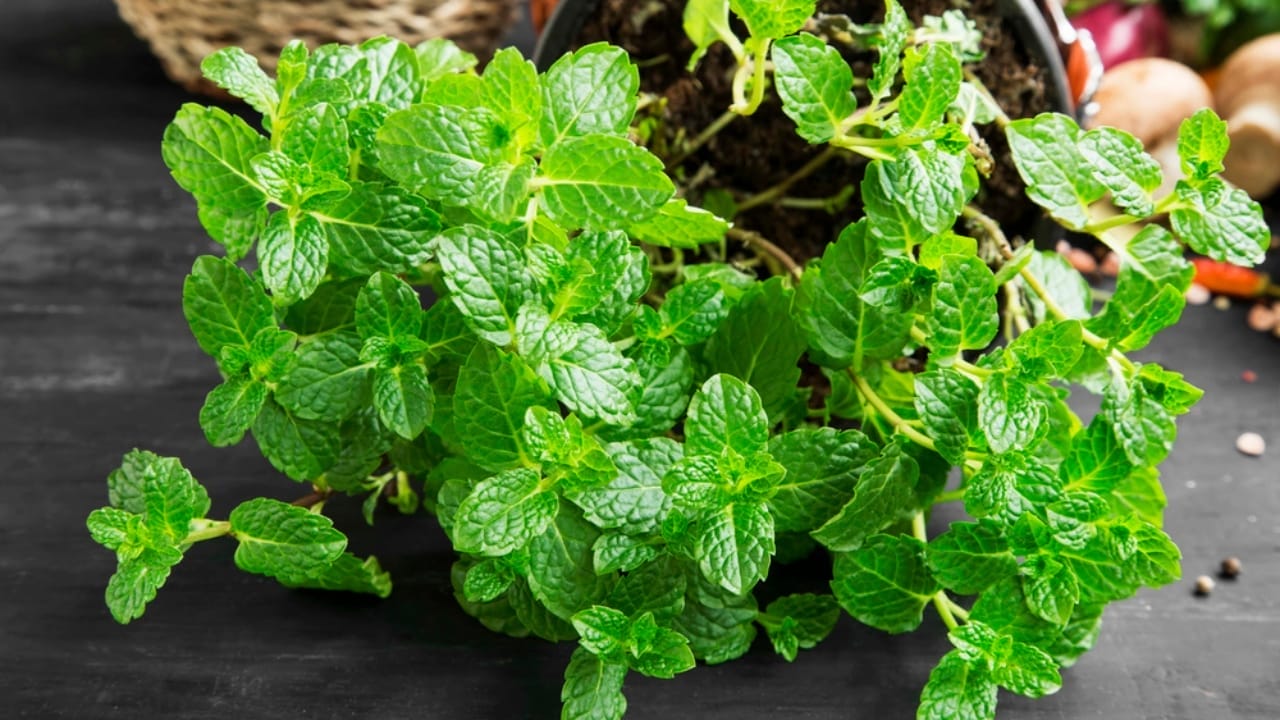
Let’s be honest about what you’ll get
I’d rather you be delighted than disappointed, so here’s the straight story.
Not every sprig will root. Grocery store mint has been cut, chilled, and shipped before it ever lands in your cart, and some stems are simply too tired. That’s fine. Root a few more than you need and keep the strongest.
Winter mint is slower mint. Start it in fall or winter and it will grow, but it won’t look like a lush summer patch. Short days mean slower growth, and the stems can stretch toward the window.
More light and regular snipping keep it in shape, and I’ll show you both.
Mint is a spreader. Give it an inch and it takes the whole yard. That’s why this guide keeps it in a pot.
And the good news? Once it’s growing, mint is a tough perennial that keeps on going, and the more you snip, the more it grows.
One healthy pot can keep you in fresh mint for a long, long time.
Is grocery store mint spearmint or peppermint?
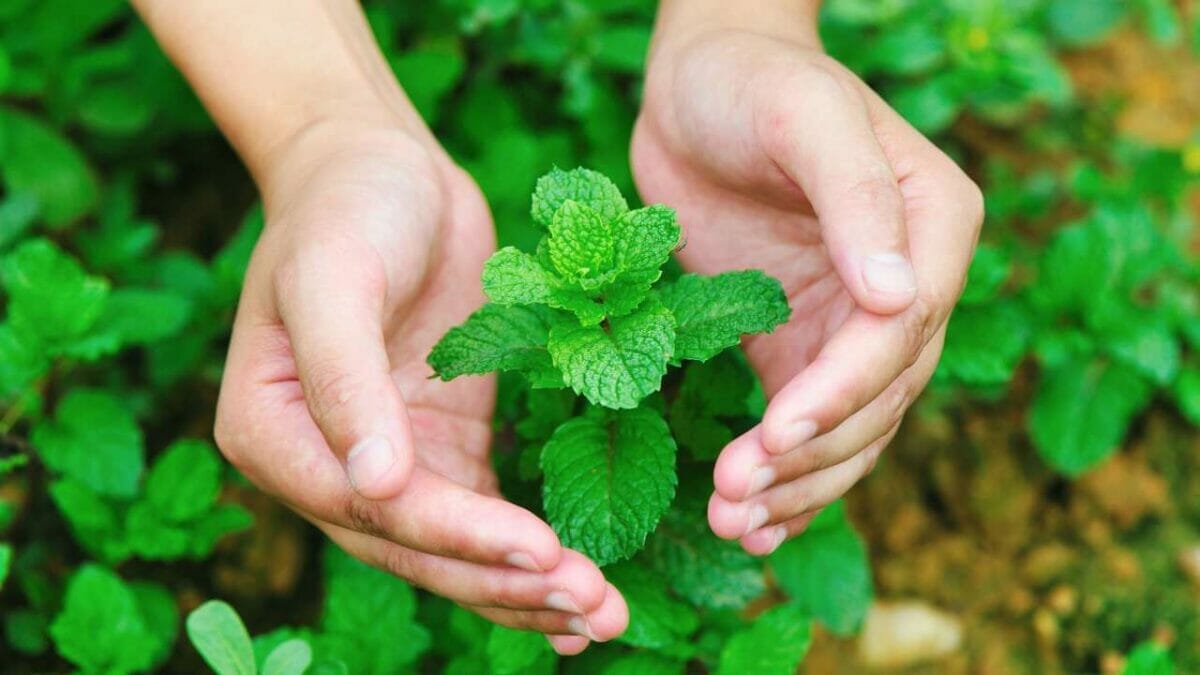
Quick fun fact, because people always ask.
Most American grocery stores carry just two mints: spearmint and peppermint. A bunch labeled plain “mint” is often spearmint.
You can tell them apart at a glance:
- Spearmint has bright green leaves with a crinkly, veined look. It tastes sweet and mild, and it’s the one most recipes mean when they just say “mint.”
- Peppermint has smoother, darker leaves, and the stems often have a purple tinge. It tastes stronger and sharper, thanks to all that menthol.
Now here’s the part I love. Peppermint doesn’t make seeds. It’s a natural cross between spearmint and water mint, so every peppermint plant out there started as a cutting or a piece of another plant.
So when you stand a sprig in a glass of water, you’re propagating mint the very same way growers do. Spearmint and peppermint both root easily, so pick the one you love the taste of.
What you’ll need
Truly nothing fancy.
- One bunch of fresh mint (pick the perkiest one on the shelf)
- Clean scissors or a sharp knife
- A clear glass or jar, so you can watch the roots grow
- Water
- A pot with a drainage hole
- Fresh potting mix
Step one: pick and prep your sprigs

- Choose the healthiest stems. Look for firm stems and bright leaves. Skip any that look wilted or slimy, or have blackened leaves.
- Trim each stem to 3 to 5 inches. Make your cut just below a leaf node. That’s the little joint where leaves grow out of the stem, and it’s exactly where the new roots will sprout.
- Strip the bottom leaves. Pull the leaves off the lower couple of inches, leaving a few sets at the top.
- Pinch off any flower buds. If your bunch has any, take them off. They’ll only rot in the water.
Don’t toss the leaves you stripped off. Drop them in a mug of hot water and you’ve got a little cup of tea while you work.
Step two: root them in a glass of water

- Stand the stems in your glass. Add enough water to cover the bare part of the stems, but keep every leaf above the waterline. Leaves sitting in water rot fast and foul the water.
- Find a bright spot. Near a window is perfect, just out of harsh, direct sun. Hot sun on a glass of water encourages algae.
- Change the water every few days. Or any time it looks cloudy. Fresh water keeps the stems clean and happy.
- Watch for roots. They usually show up within a week or two. First a few little white threads, then a proper tangle.
No rooting powder needed. Mint handles this all on its own.
Step three: move them into a pot

Once the roots are an inch or two long, it’s time for soil. Don’t leave them in the jar for months. The longer mint lives in water, the harder the move to soil becomes.
- Fill a pot with fresh potting mix. Make sure it has a drainage hole. Soggy soil rots roots.
- Plant several rooted stems together. More stems in one pot means a fuller plant, sooner.
- Water well. Keep going until water runs out the bottom, then let it drain. Never leave the pot sitting in a saucer of water.
- Give the tops a light trim. Fewer leaves means less water loss while the roots settle into their new home.
A small pot is fine to start. When your mint fills it out, move it up a size. A 12- to 16-inch container will hold a full-grown plant happily.
Mint plant care: how to keep it happy indoors

Mint is easygoing. Get these few things right and it will reward you.
Light is the big one. Give it your sunniest window. Four to six hours of direct sun a day is ideal, though mint gets by on a little less than most herbs.
If it starts growing tall and floppy, that’s its way of asking for more light. When winter windows are dim, a simple grow light on a timer for 12 to 16 hours a day helps.
Keep the soil on the moist side. Mint likes moisture, and pots dry out faster than garden soil. Water when the top of the soil feels dry to the touch, before the plant wilts. Damp is good. Soggy is not.
Go easy on the food. Herbs don’t need much fertilizer, and too much can actually dull their flavor and scent. A balanced plant food at half or quarter strength, now and then, is plenty.
Snip it often. This is the secret. The more often you cut mint, the more new growth it makes, and that fresh new growth has the best flavor.
Snip each stem just above a pair of leaves and new shoots will branch out from there. Pinch off any flower spikes as they appear, too, to keep the leaves tasting their best.
Keep it cozy. Most herbs like it between 60 and 70 degrees. If you have old single-pane windows, don’t let the leaves touch the cold glass in winter.
And every 3 to 4 years, once it has packed its pot solid, divide it into smaller clumps and repot. That keeps it vigorous.
Can you plant it outside?
Yes. Just keep it in its pot.
Mint spreads underground on creeping stems called rhizomes. Plant it straight into a garden bed and it will march into everything around it, and it’s nearly impossible to get rid of once it settles in.
That’s why extension gardeners suggest growing mint in containers above ground. Burying a bottomless pot in the bed sounds clever, but mint often sneaks out of that too.
When spring comes and frost is behind you, carry your pot outside. Ease it in gradually, starting with a few hours a day in a sheltered, partly shady spot. Once it’s settled, mint is happy in full sun or partial shade.
Outdoors, mint naturally dies back over winter. If you’d rather keep picking, bring the pot back inside in fall. Mint actually benefits from a light frost before it comes in, which gives it a little rest and wakes up fresh growth.
Quick answers
Why are my mint stems going slimy in the water?
Usually a leaf slipped below the waterline, or the water sat too long. Trim the stem back to firm, green tissue just below a node, rinse the glass, and start again with fresh water.
Can I skip the water and root mint in soil?
Yes. Push the prepped stems into damp potting mix and keep them in bright, indirect light. Keep the mix lightly moist, never soggy. Fresh new leaves on top are your sign the roots have taken.
Can mint just live in water forever?
It can hang on in water for quite a while. But water roots are thinner and weaker than soil roots, and a plant you want to keep snipping will be much happier in a pot.
How long until I can start picking?
Once your potted mint is pushing out fresh new leaves, you can start snipping a little at a time. Utah State Extension says leaves can be picked once plants are 3 to 4 inches tall.
This trick works on more than mint
Here’s a lovely bonus. The same glass-of-water method works on other soft-stemmed herbs from the grocery store too, like basil and oregano.
Add the green onions and carrot tops, and one sunny windowsill turns into a whole little herb garden from the produce aisle.
Now put that mint to work
Fresh mint is only worth growing if it ends up in your cup and on your plate. So here’s what to do with all those mint leaves.
- Fresh mint tea. Give a small handful of leaves a quick twist to wake up the oils, pour just-boiled water over them, and let it steep about 5 minutes. Add honey or a squeeze of lemon. Chill it and pour it over ice for iced mint tea.
- Mint ice cubes. Fill an ice cube tray halfway with water and push a few leaves under in each section. Freeze, top them off with water the next day, then pop the cubes into a freezer bag. Drop them into lemonade or iced tea.
- Lemonade. Spearmint is the one you want here. It tastes bright and sweet in a glass of lemonade, where peppermint can come across a bit like toothpaste.
- With lamb or pork. Mint and lamb is a classic for a reason, and a simple mint sauce is the old-fashioned favorite. Mint is lovely with pork, too.
- Salads and sauces. Tear a few leaves into a green salad, or stir chopped mint into yogurt with cucumber for a cool, quick sauce.
- Dried mint for winter. To dry mint leaves, tie 5 or 6 stems together, slip the bundle into a paper bag with a few holes poked in it, and hang it upside down somewhere warm and airy, out of the sun. Once the leaves crumble, store them in a jar with a tight lid. Dried mint keeps for up to a year.

Davin is a jack-of-all-trades but has professional training and experience in various home and garden subjects. He leans on other experts when needed and edits and fact-checks all articles. Also an aspiring cook we he researches and tries all kinds of different food recipes and shares what works best.