

You grilled the corn. You ate it down to the cob. You tossed the cob.
Next time, save one.
Every cob is packed with seeds. Hundreds of them, one per kernel. Dry those kernels out and you’ve got next year’s crop sitting in an envelope, for free.
That’s the pitch. And it’s mostly true. But I’m going to be straight with you about the part nobody mentions, because it decides whether this actually works.
First, the honest catch about supermarket corn
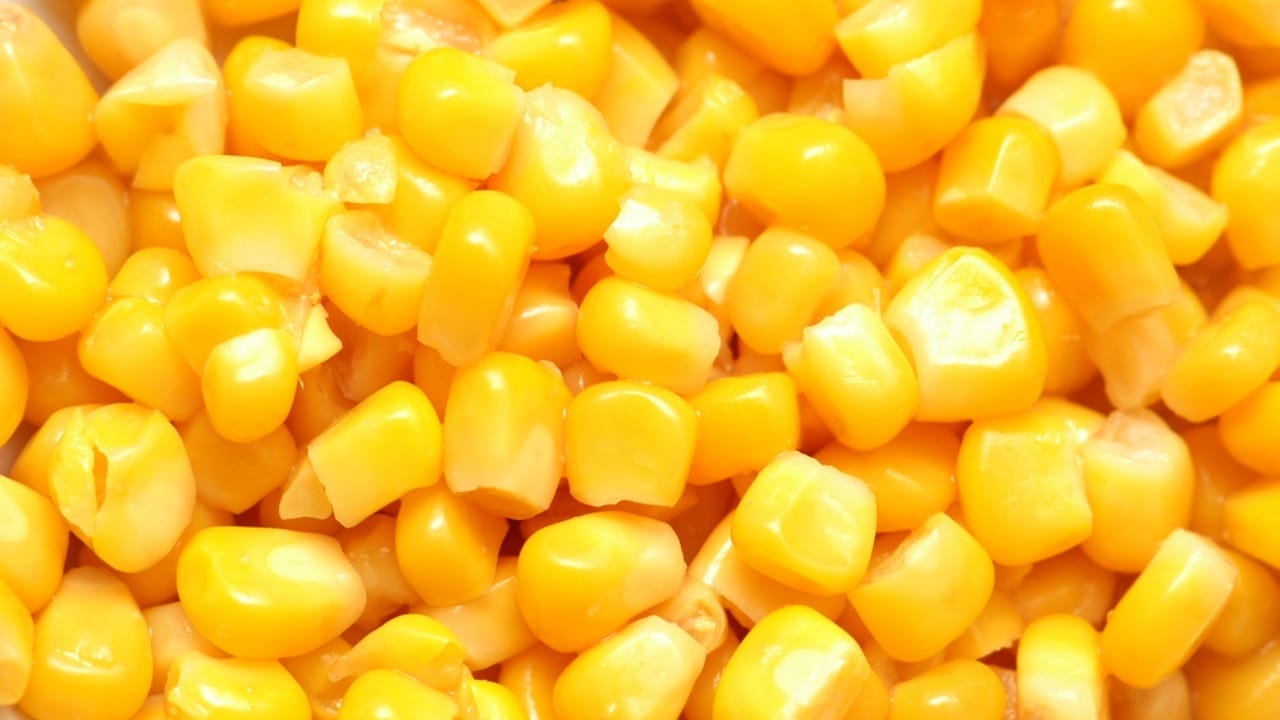
Here’s the thing most “grow corn from the cob” guides quietly skip.
Most sweet corn at the store is an F1 hybrid. That means it was bred from two specific parent lines, and its seeds don’t grow into a copy of the parent.
Plant them and you get a grab bag: some plants fine, some starchy, some barely sweet at all. “Homegrown corn forever” from one hybrid cob is wishful thinking.
So here’s how to actually make it work.
- Just want a fun experiment? Dry any cob’s kernels and plant them. You’ll get corn. It might just be a mixed bag on flavor.
- Want reliable, sweet corn you can save year after year? Start with an open-pollinated or heirloom variety. Those come true from saved seed. That’s the real “corn forever” part, and it only works with open-pollinated types.
Now that you know the deal, let’s dry some seed.

How to save corn seeds from a cob
This part is genuinely easy and kind of satisfying.
- Don’t cook the cob you want for seed. Leave a fresh one out to dry naturally until the kernels turn hard. This takes a while, so be patient.
- Once the kernels are dry and rock hard, hold the cob over a bowl and rub your thumb across them. They ping off into the bowl. Weirdly fun.
- One cob gives you hundreds of kernels. Unless you’re farming, grab a small handful and call it good.
- Drop the dried kernels in a paper envelope and store them somewhere cool and dark until spring.
That’s your seed stock. Free, from something you were about to throw away.
How to grow corn from seeds
Come spring, here’s how to grow corn from the seeds you saved.
Start them indoors for a head start:
- Sow kernels about 1 inch deep in small pots or toilet paper tubes, one or two per pot.
- Use peat-free potting mix, a few weeks before your last frost.
- When the seedlings hit about 4 inches tall and frost danger has passed, move them outside.
Or skip the indoor step and sow straight into warm soil once the frost is done, spacing seeds about 16 inches apart. Corn wants warmth, so don’t rush it into cold ground.
One trick: sow two seeds per spot. If both come up, pull the weaker one. Saves you from gaps where a kernel didn’t take.
The one rule that makes or breaks your corn
If you remember nothing else, remember this. Plant corn in a block, not a row.
Corn is pollinated by wind, not bees. Pollen falls from the tassels up top down onto the silks below, and for that to work, each plant needs neighbors close on every side.
A single long row barely pollinates, and you get cobs with half the kernels missing. Sad, gap-toothed corn.
So plant a grid. A 3 by 3 square of nine plants is a solid minimum. More is better.
This is also why corn is a tricky one for small spaces. People search how to grow corn in containers and grow corn in pots all the time, and yes, you technically can grow corn in pots.
But one lonely pot can’t pollinate itself. If you go the container route, cluster several big pots tightly together so you still get that block effect. One pot alone on a balcony will grow a handsome green plant and almost no actual corn.
Bonus: grow popcorn straight from the bag
Here’s a fun one. You can grow popcorn too, right from a bag of popping kernels.
Popcorn is a close cousin of sweet corn and grows almost identically. The plants make similar-looking cobs, but the kernels are starchy instead of sweet, so don’t try to eat these on the cob.
Let the cobs dry fully, strip the kernels, and pop them in oil or a popcorn maker. Homegrown popcorn. Genuinely great party trick.
One warning, and it matters. Do not grow popcorn and sweet corn in the same garden. They cross-pollinate, and if they do, you end up with popcorn that won’t pop and sweet corn that isn’t sweet. Pick one per season, or keep them well apart.
When it’s ready
Your corn on the cob should start ripening from midsummer onward, depending on when you got it going.
The classic ripeness test: peel back a bit of husk and press a kernel with your nail. Milky juice means it’s ready. Clear juice means wait a bit. Doughy means you waited too long.
Then it’s back to the grill, with a cob you grew from a cob. Full circle.
So at your next cookout, before you toss that last one, set a cob aside to dry. Worst case, it’s a free experiment that costs you nothing.
Best case, you’ve started a supply of corn that comes back season after season, straight off your own plants.

Davin is a jack-of-all-trades but has professional training and experience in various home and garden subjects. He leans on other experts when needed and edits and fact-checks all articles. Also an aspiring cook we he researches and tries all kinds of different food recipes and shares what works best.