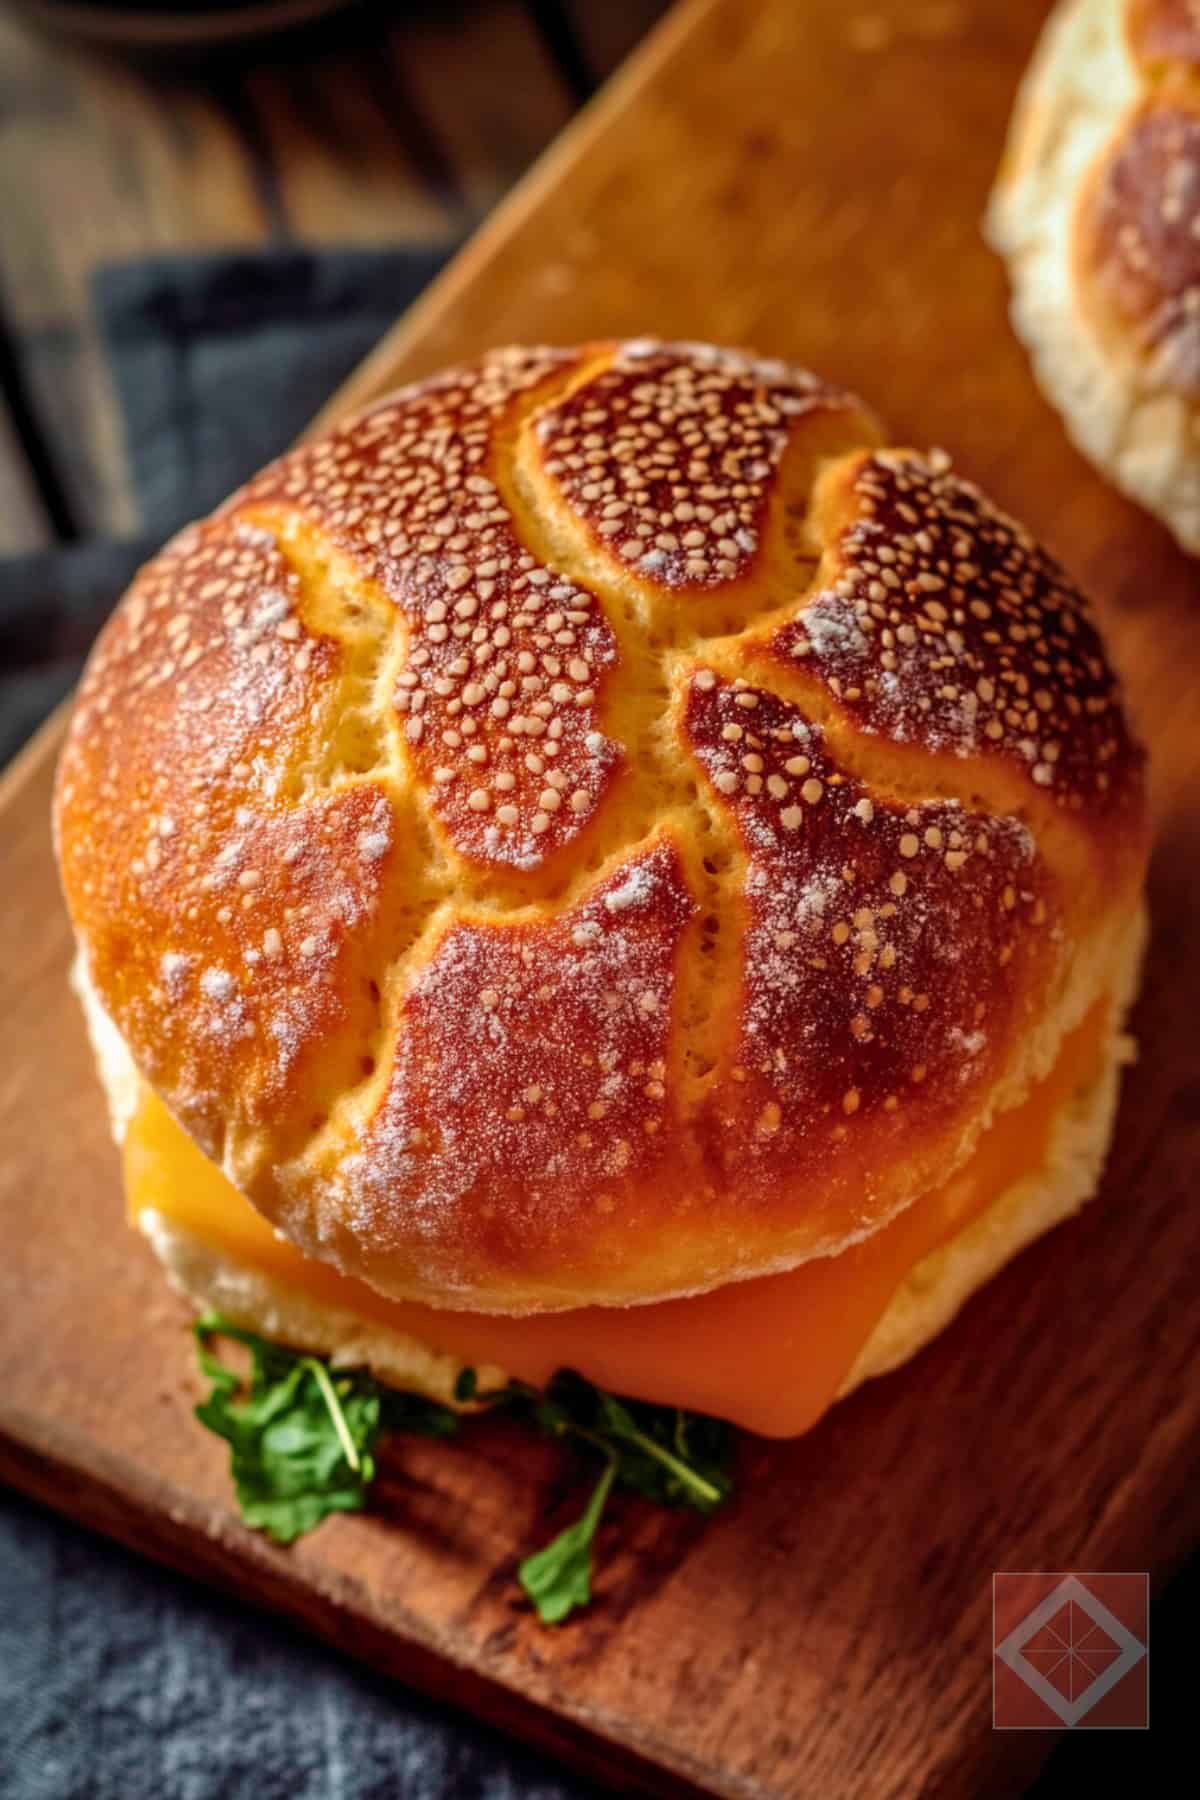
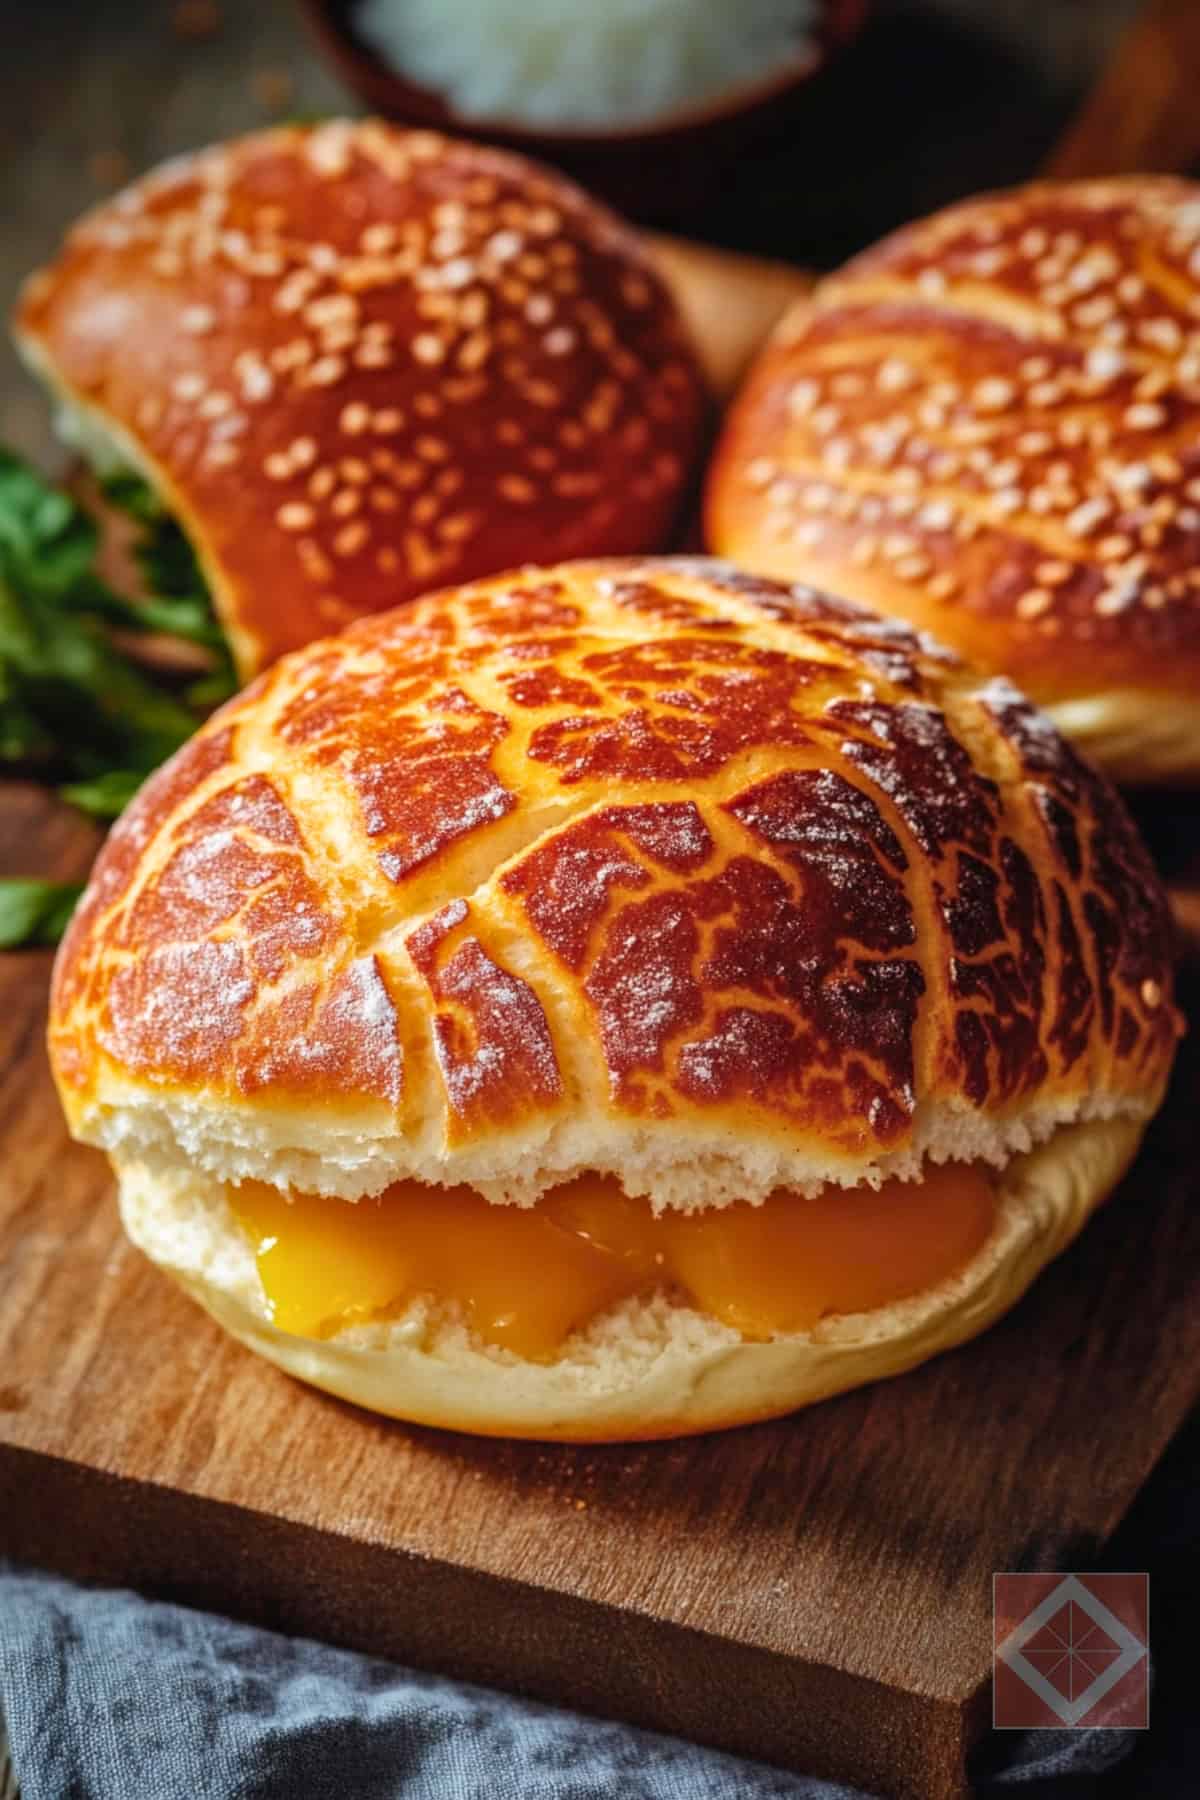
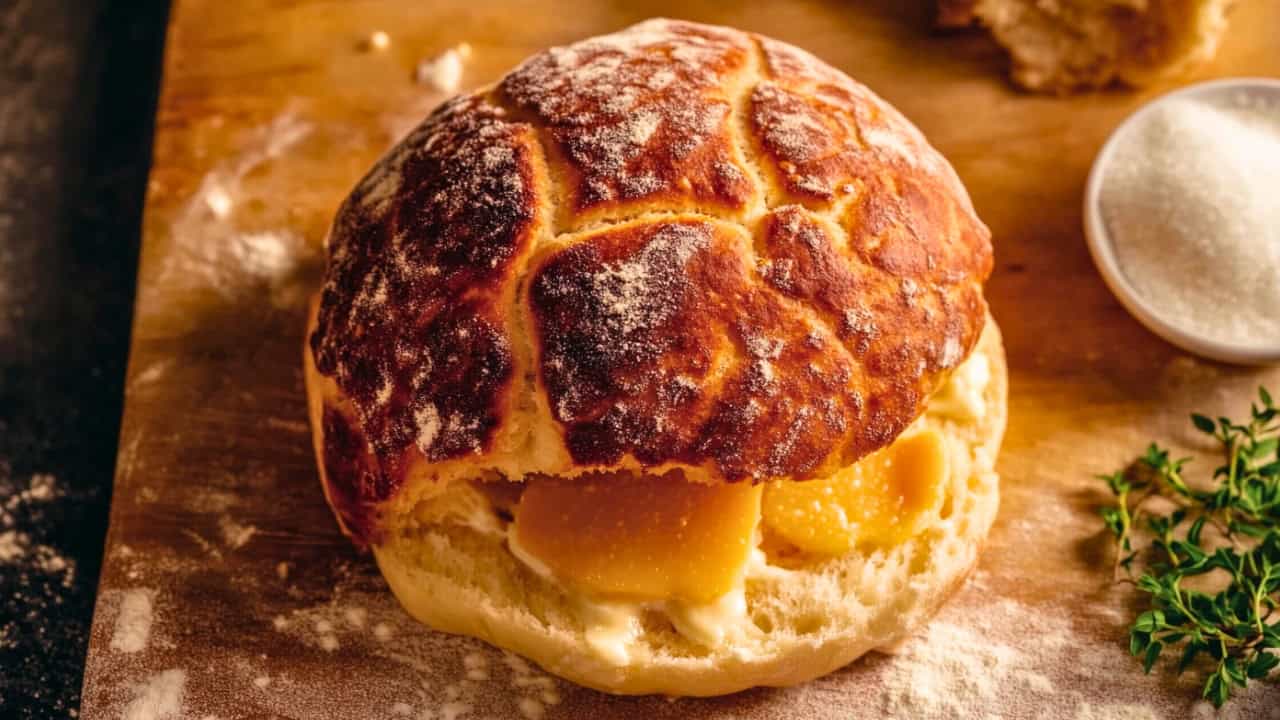
There’s something uniquely satisfying about biting into bread with a crunchy, crackled top and a soft, fluffy interior. Dutch Crunch Rolls deliver just that—a textural contrast that’s hard to beat.
With their signature topping made from a rice flour paste, these rolls bake into a beautiful mottled crust that’s not only eye-catching but also incredibly flavorful.
Why Dutch Crunch Rolls Stand Out

What makes this bread so different is the topping applied before baking. This recipe uses a rice flour slurry that dries and cracks as it bakes. That’s what gives these rolls their leopard-like pattern and irresistible crunch.
The topping firms up in the oven, locking in moisture while creating a light but structured exterior.
These rolls are shaped into 4-inch rounds, perfect for small sandwiches or dinner rolls. While many bread recipes rely solely on the internal texture, Dutch crunch rolls go the extra mile by pairing a tender interior with a shatteringly crisp crust.
It’s this combination that makes them a standout at any meal.
Tips for Best Results
Timing and texture are everything in this recipe. The initial rest after mixing the dough helps develop its structure, making the dough easier to knead and less sticky.
During kneading, the goal is to achieve a tacky, elastic feel without overworking it. Both hand-kneading and stand mixers are viable options, though a mixer will save some effort during the elastic development phase.
Allowing the dough to rise until fully doubled is key to getting a light crumb inside. Rushing this part can lead to dense rolls that lack the desired springiness.
Similarly, the topping needs to be thick enough to cling to the surface but spreadable enough to coat the dough evenly. If it’s too runny, it won’t bake properly. If it’s too thick, it won’t spread and crack attractively.
Shaping & Topping Like a Pro
Dividing the dough into equal pieces ensures even baking. Gently pressing out air and rounding the dough helps create a smooth surface for the topping to adhere to.
Working with floured hands and a clean, dry surface makes this step easier and cleaner. For the topping, use a tablespoon to portion and an offset spatula or fingers to spread will result in the best coverage.
Resting the topped dough before baking gives the crust time to begin forming and puffing up. This second rise, though short, is essential. The rolls should be very puffy before going into the oven.
Pressing gently with a floured finger—if the indentation remains, the dough is ready to bake.
Baking & Serving Ideas
Baking at a high temperature (450°F) is what gives the topping its golden, crunchy finish. Keeping the oven hot and undisturbed during baking ensures even coloration and texture development.
Rolls should bake until they’re crisp, deep golden in spots, and sound hollow when tapped.
Dutch crunch rolls are best eaten fresh on the same day they’re made. The crust is at its most delicate and crisp right out of the oven, though leftovers can still be enjoyable if lightly reheated.
Serve them alongside soups, fill them with deli meats, or enjoy them with a swipe of butter. These rolls are as versatile as they are stunning.
Great for Meal Prep & Gatherings

Though this bread recipe is most ideal for same-day eating, it’s still a fantastic option for gatherings, picnics, or family dinners. The individual size makes serving a breeze, and the unique look always draws compliments.
For those who enjoy planning ahead, the dough can be made the night before and shaped the next day after warming to room temperature.
This recipe is a must-try for anyone seeking new bread recipes that bring both style and substance to the table. With their addictive crunch and soft interior, Dutch crunch rolls are sure to become a regular part of any homemade bread lineup.

Dutch Crunch Rolls Bread Recipe
Equipment
- Rimmed baking sheet
- Parchment paper
- Mixing bowls
- Dough scraper or bench knife
- Measuring spoons and cups
- Small offset spatula (optional)
- Stand mixer with dough hook (optional)
Ingredients
Dough – Basic Version:
- 2 cups plus 1 tablespoon unbleached all-purpose flour
- 1 tablespoon unsalted butter softened
- 2 teaspoons sugar
- 1 teaspoon fine salt
- 1½ teaspoons instant yeast
- ¾ cup plus 1 teaspoon warm water
Topping:
- ¼ cup plus 3 tablespoons white rice flour
- Scant 1 tablespoon sugar
- Scant ½ teaspoon instant yeast
- Scant ⅛ teaspoon fine salt
- ¼ cup warm water about 90°F
- 1½ teaspoons vegetable or neutral oil
Instructions
- Make the Dough: Combine flour, butter, sugar, salt, yeast, and warm water in a large bowl. Stir until no dry spots remain. Let the mixture sit uncovered for 15 minutes to hydrate the flour. Then, knead the dough on a lightly floured surface for 5 to 8 minutes until it becomes elastic and springy. It will be sticky at first but will smooth out. Use a bench scraper to assist if needed.
- First Rise: Return the dough to the bowl, cover, and let it rise in a warm spot until doubled in size, about 1 hour. Alternatively, use a stand mixer on medium speed, then high, for a total of 5 to 8 minutes before the same rise.
- Prepare the Topping: Mix rice flour, sugar, yeast, and salt in a small bowl. Add warm water and oil, stirring to create a thick paste. Set aside at room temperature until ready to use.
- Shape the Rolls: Line a baking sheet with parchment. Turn the dough onto a floured surface and divide into 6 equal parts (around 2.6 ounces each). Lightly knead and shape into balls. Place them seam-side down on the baking sheet.
- Second Rise: Cover the shaped rolls and let them rise until puffed, about 15–20 minutes.
- Add the Topping: Preheat the oven to 450°F with a rack in the center. Spread about 1 tablespoon of topping on each roll, coating the tops and sides. Let them rise again for 15–20 minutes, until they appear puffy and hold an indentation when gently pressed.
- Bake: Bake for 25–30 minutes, until the topping is golden and crackled. Rolls should feel light and sound hollow when tapped.
- Cool: Transfer to a wire rack to cool. These are best the day they're baked for maximum crispiness.
Notes
- The topping gives the rolls their distinctive look and texture—don’t skip it!
- Rolls can be frozen after baking but will lose some crispness once thawed.
- If you’re preparing for sandwiches, slice once fully cooled.
Davin is a jack-of-all-trades but has professional training and experience in various home and garden subjects. He leans on other experts when needed and edits and fact-checks all articles.

