If you’ve ever wished your favorite childhood snack could be made at home with fresher ingredients and customizable flavors, this dessert recipe is for you. These homemade pop-tarts strike the perfect balance between nostalgia and gourmet flair.
With a flaky, buttery crust and a rich, sweet filling, they’ll have you ditching the store-bought version for good.
Why Homemade Pop-Tarts Are Worth It
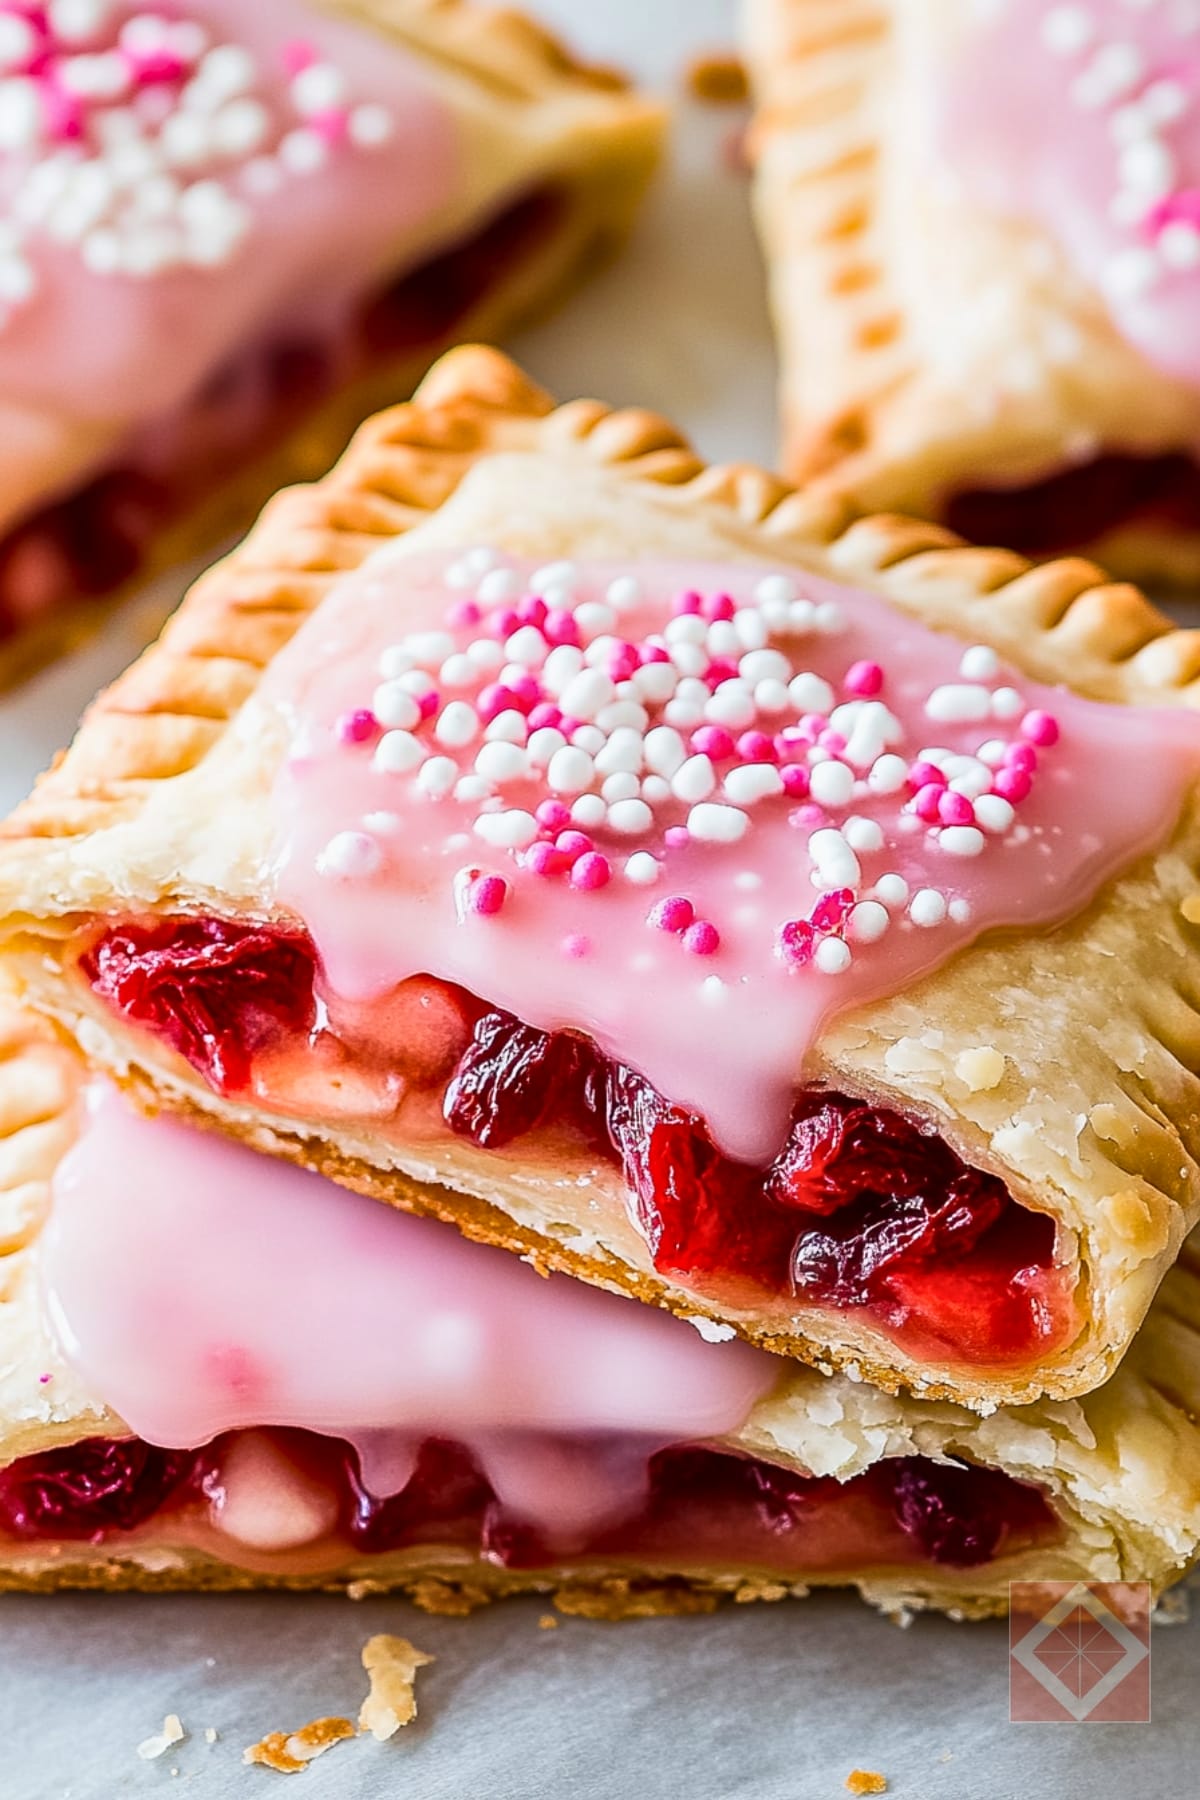
Store-bought pop-tarts are convenient, but they lack the personalized touch and quality of a homemade version. When you create your own, you can experiment with flavors, use natural ingredients, and avoid unnecessary additives.
Plus, these pop-tarts are as much an arts-and-crafts project as they are a dessert. You’ll get to make everything from scratch—filling, dough, glaze—and customize them to your heart’s content.
Tips for Making the Perfect Pop-Tarts
Achieving the ideal pop-tart requires attention to detail. Here are a few tips to ensure success:
- Chill the Dough: Cold dough is easier to handle and will give your crust that signature flaky texture.
- Even Filling Distribution: Spread your filling evenly but don’t overdo it. This prevents the pop-tarts from leaking during baking.
- Proper Sealing: Use a fork to press down the edges securely to avoid any filling spilling out.
- Customize Your Glaze: While the classic vanilla glaze is delightful, you can infuse it with flavors like cinnamon or citrus to elevate your dessert.
Creative Flavor Variations
One of the best parts about making homemade pop-tarts is the ability to experiment with flavors. Here are a few ideas to inspire you:
- Classic Strawberry: Stick to the recipe’s filling of strawberries, apples, and applesauce for a tried-and-true favorite.
- Brown Sugar Cinnamon: Swap out the fruit for dark brown sugar, cinnamon, and a touch of kosher salt. This comforting flavor is perfect for a cozy dessert.
- Seasonal Fruits: Use peaches in the summer or cranberries during the holidays to align with the season.
Why This Recipe Stands Out
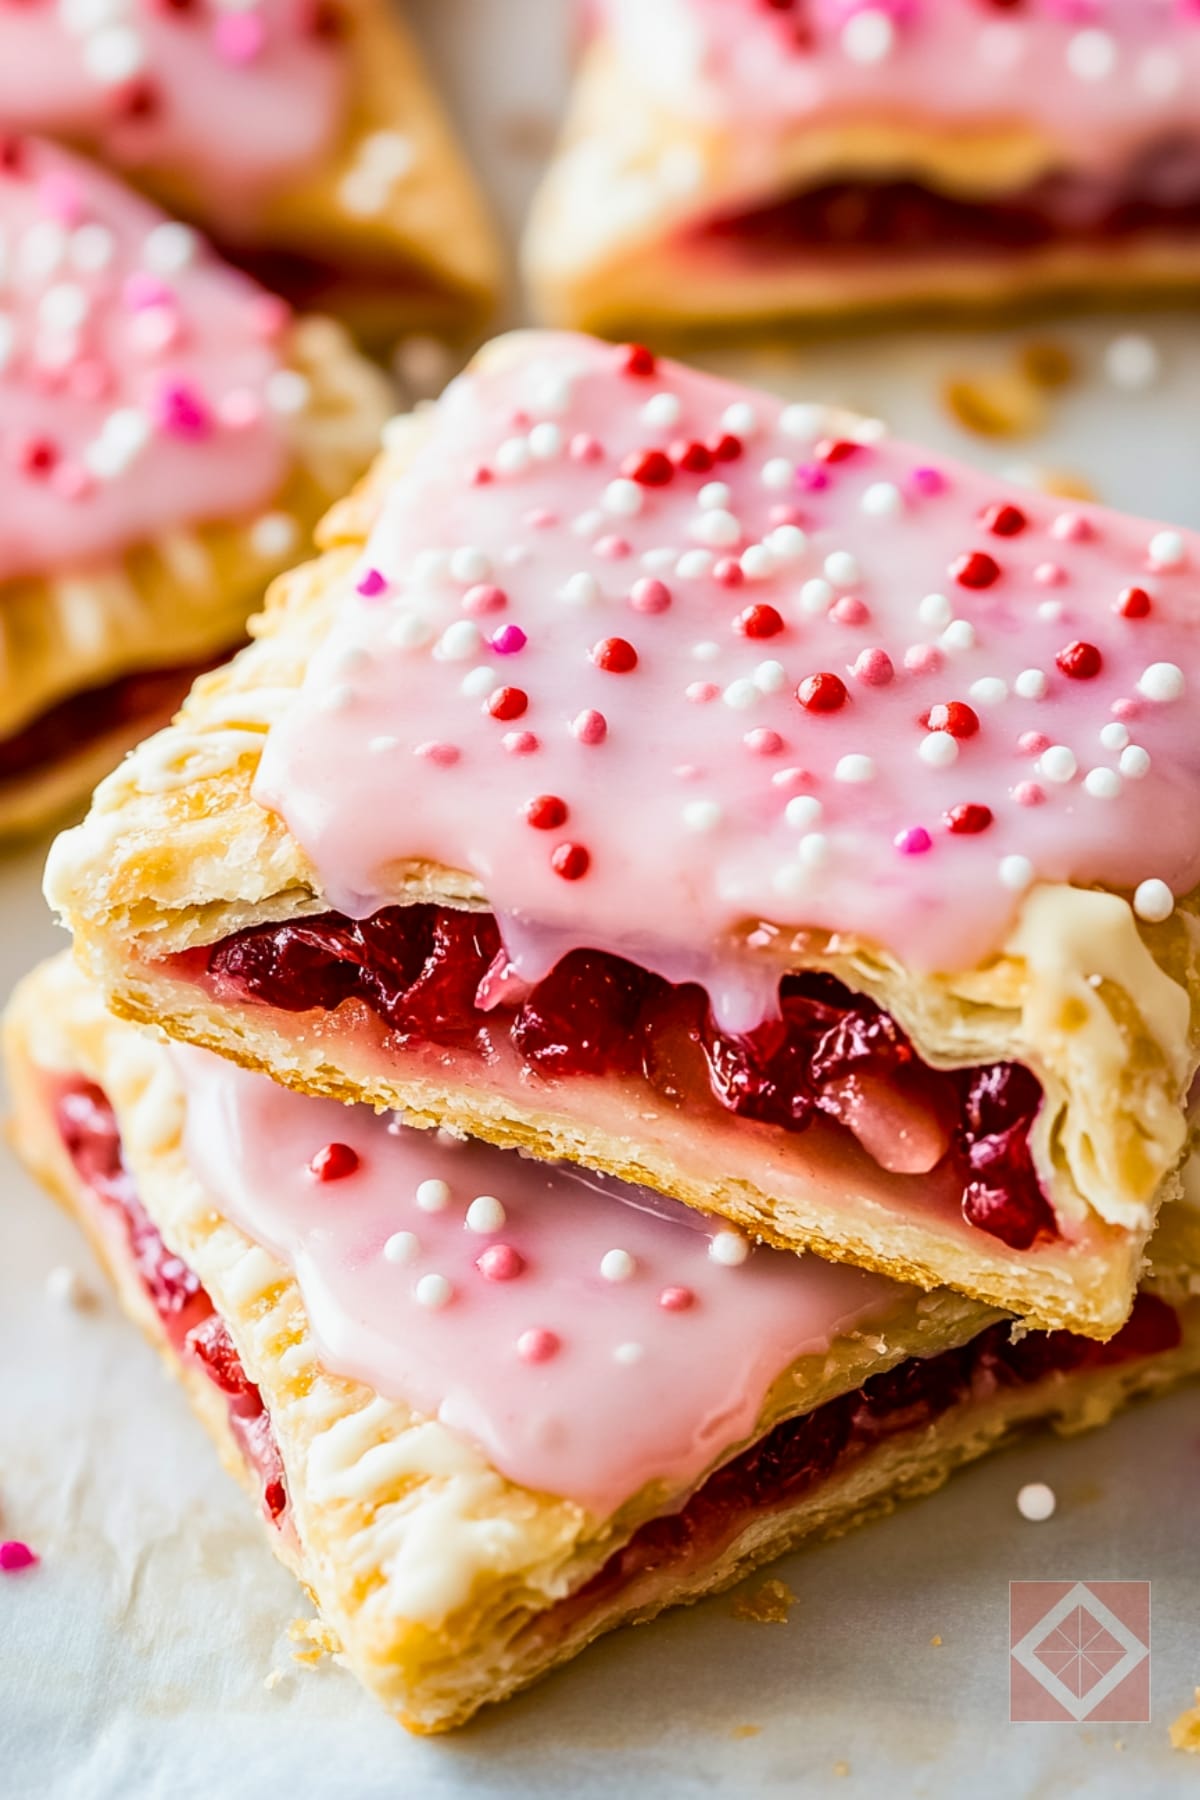
This dessert recipe isn’t just about nostalgia—it’s about elevating a classic treat into something truly special. The dough is flaky yet sturdy, standing up to both the toaster and your cravings.
The filling is rich but not overly sweet, making it the perfect balance for the buttery crust. And the glaze? It’s the finishing touch that makes these pop-tarts shine—literally and figuratively.
What makes this recipe even more versatile is its adaptability. Whether you’re serving them at a brunch gathering, packing them for school lunches, or simply enjoying them with your coffee, these pop-tarts are sure to impress.
Dessert Recipe for All Skill Levels
While these pop-tarts require a bit more effort than opening a foil package, the steps are straightforward. Even if you’re a beginner in the kitchen, you’ll find the process enjoyable and rewarding.
Start with the classic flavor, then branch out as you grow more confident in your skills.
For seasoned bakers, this is a playground for creativity. Experiment with shapes, fillings, and decorative elements to make each batch uniquely yours.
Serve & Store with Ease
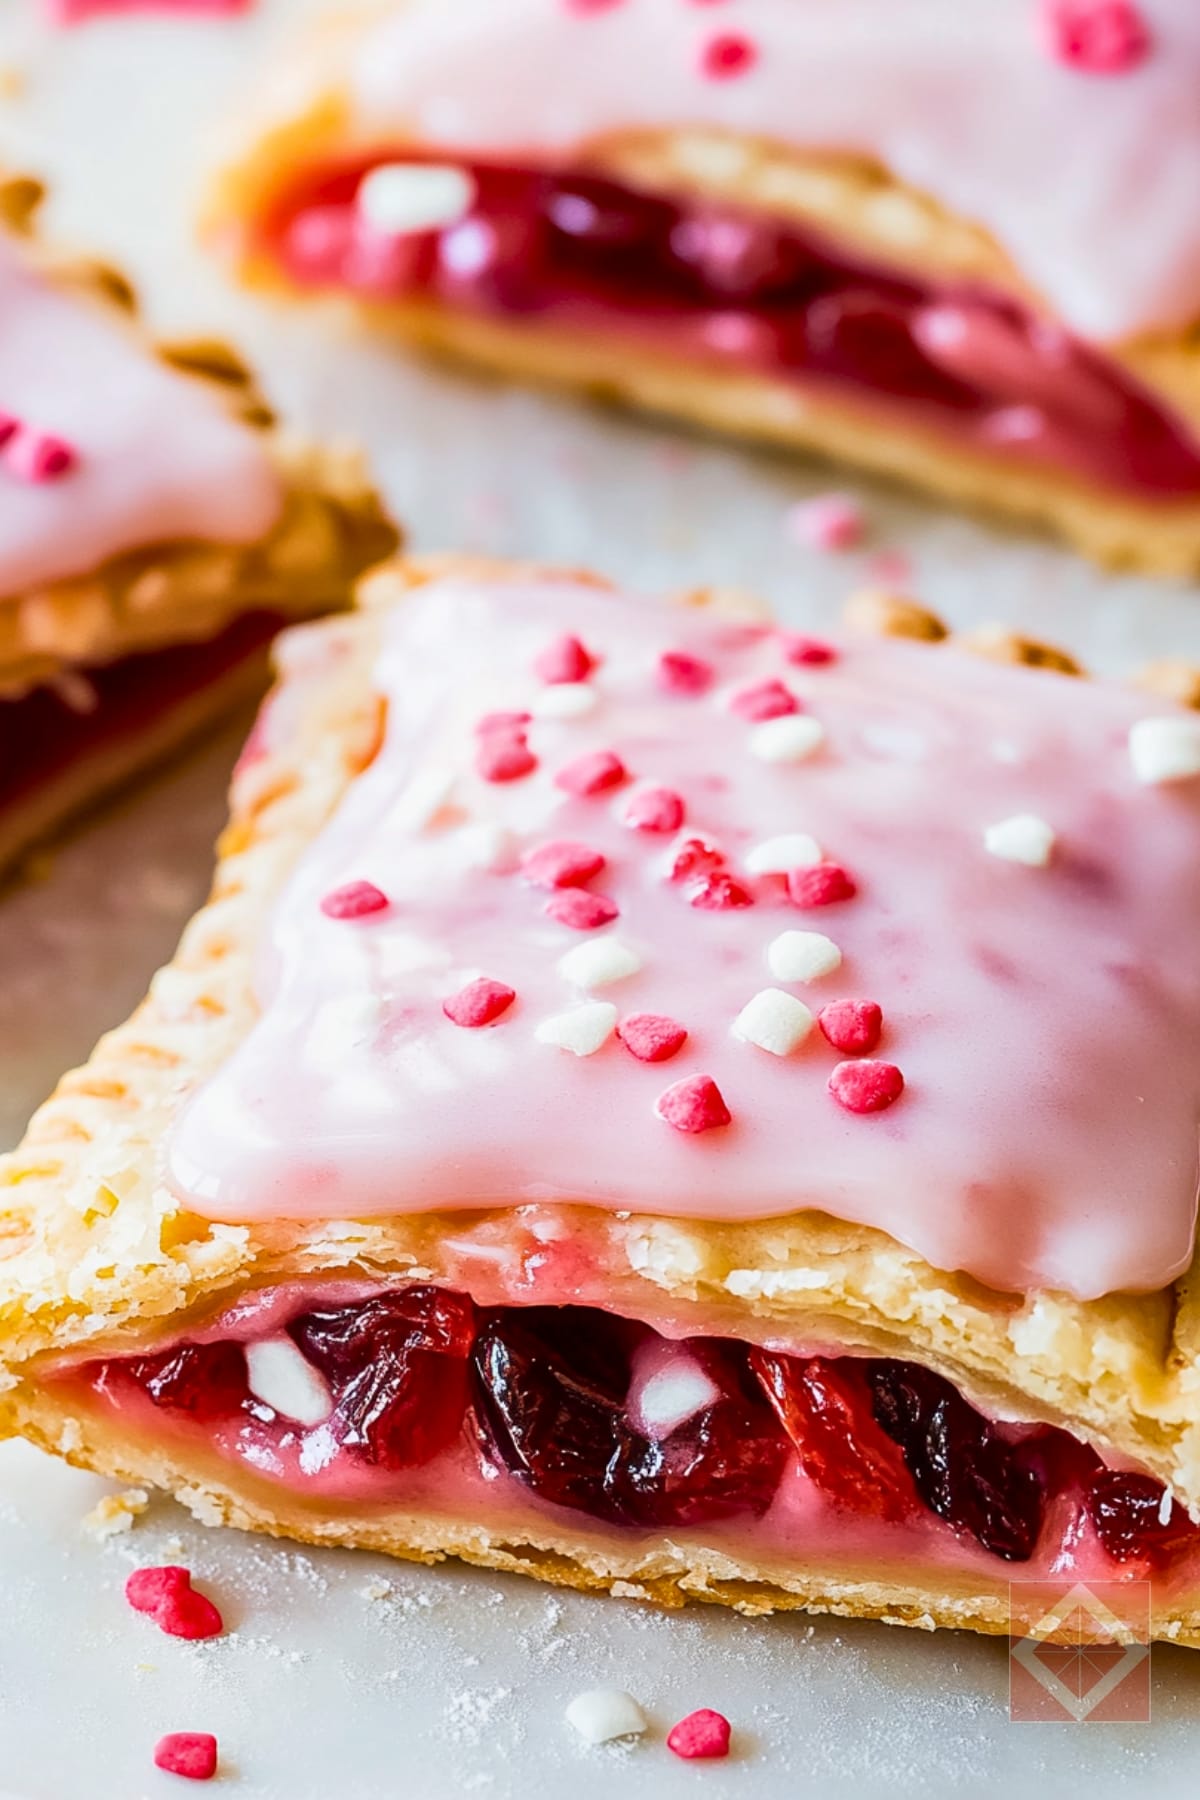
To enjoy your pop-tarts at their best:
- Serving: These can be eaten fresh out of the oven, cooled to room temperature, or toasted for a few minutes to reheat. Pair them with coffee, tea, or milk for the ultimate indulgence.
- Storage: Place the cooled pop-tarts in an airtight container with parchment paper between each layer. They’ll stay fresh for up to two weeks at room temperature or longer in the freezer.
This homemade pop-tart dessert recipe is a delightful project that brings joy to both the process and the result.
Homemade Pop-Tarts Recipe
Equipment
- food processor
- Stand mixer
- Rolling Pin
- Parchment paper
- Pizza Cutter
- ruler
Ingredients
Filling
- 1½ cups freeze-dried strawberries
- 4 cups dried apples soft and moist
- 2 tablespoons unsweetened applesauce
Dough
- 3¼ cups all-purpose flour plus extra for dusting
- 1 teaspoon baking powder
- ¼ teaspoon kosher salt
- ¼ cup granulated sugar
- 2 sticks unsalted butter cut into cubes
- ½ cup light corn syrup
Glaze
- 1¾ cups powdered sugar sifted
- 3 tablespoons whole milk or lightly beaten egg whites
- ⅛ teaspoon kosher salt
- 1 teaspoon vanilla extract
- Rainbow sprinkles optional
Variations
Brown Sugar Cinnamon
- Replace freeze-dried strawberries with 6 ounces packed dark brown sugar.
- Add 1½ tablespoons ground cinnamon and ⅛ teaspoon kosher salt to the filling mixture.
- Optionally flavor the glaze with 1 tablespoon ground cinnamon.
Instructions
Prepare the Filling
- Grind the freeze-dried strawberries into powder using a food processor.
- Add dried apples and pulse until a dough-like mixture forms. Add applesauce and process until smooth.
- Roll the filling mixture into a 5-inch square between two sheets of lightly greased parchment paper. Roll again into an 11-inch square. Refrigerate uncovered for at least 30 minutes to firm up.
Make the Dough
- In a stand mixer, combine flour, baking powder, sugar, and salt. Add cubed butter and mix on low until crumbly.
- Add corn syrup and continue mixing until the dough comes together into a ball.
- Divide the dough in half, shape each half into a disc, and wrap tightly. Refrigerate for at least 30 minutes, or up to 1 week.
Assemble the Pastries
- Roll out one dough disc on a floured surface to a 15-inch square, about ⅛ inch thick.
- Cut into rectangles measuring 3¾ x 4¼ inches. Repeat with the second dough disc.
- Lay one rectangle on a parchment-lined baking sheet, place a spoonful of filling in the center, and top with another rectangle. Seal edges by pressing with a fork. Pierce the tops with a skewer to allow steam to escape.
- Refrigerate the assembled pastries for at least 30 minutes before baking.
Bake the Pastries
- Preheat the oven to 350°F (175°C).
- Bake the pastries on the middle rack for 16 minutes, or until firm and golden. Allow to cool on the baking sheet.
Glaze and Decorate
- Combine powdered sugar, milk or egg whites, salt, and vanilla in a bowl. Whisk until smooth.
- Brush the glaze onto each pastry and sprinkle with rainbow sprinkles if desired. Allow the glaze to set for 30 minutes.
Notes
- These Pop-Tarts can be stored in an airtight container at room temperature for up to 2 weeks.
- For a toasted experience, reheat in a toaster or toaster oven.
- You can freeze unbaked Pop-Tarts for up to 1 month and bake directly from frozen.
Davin is a jack-of-all-trades but has professional training and experience in various home and garden subjects. He leans on other experts when needed and edits and fact-checks all articles. Also an aspiring cook we he researches and tries all kinds of different food recipes and shares what works best.
