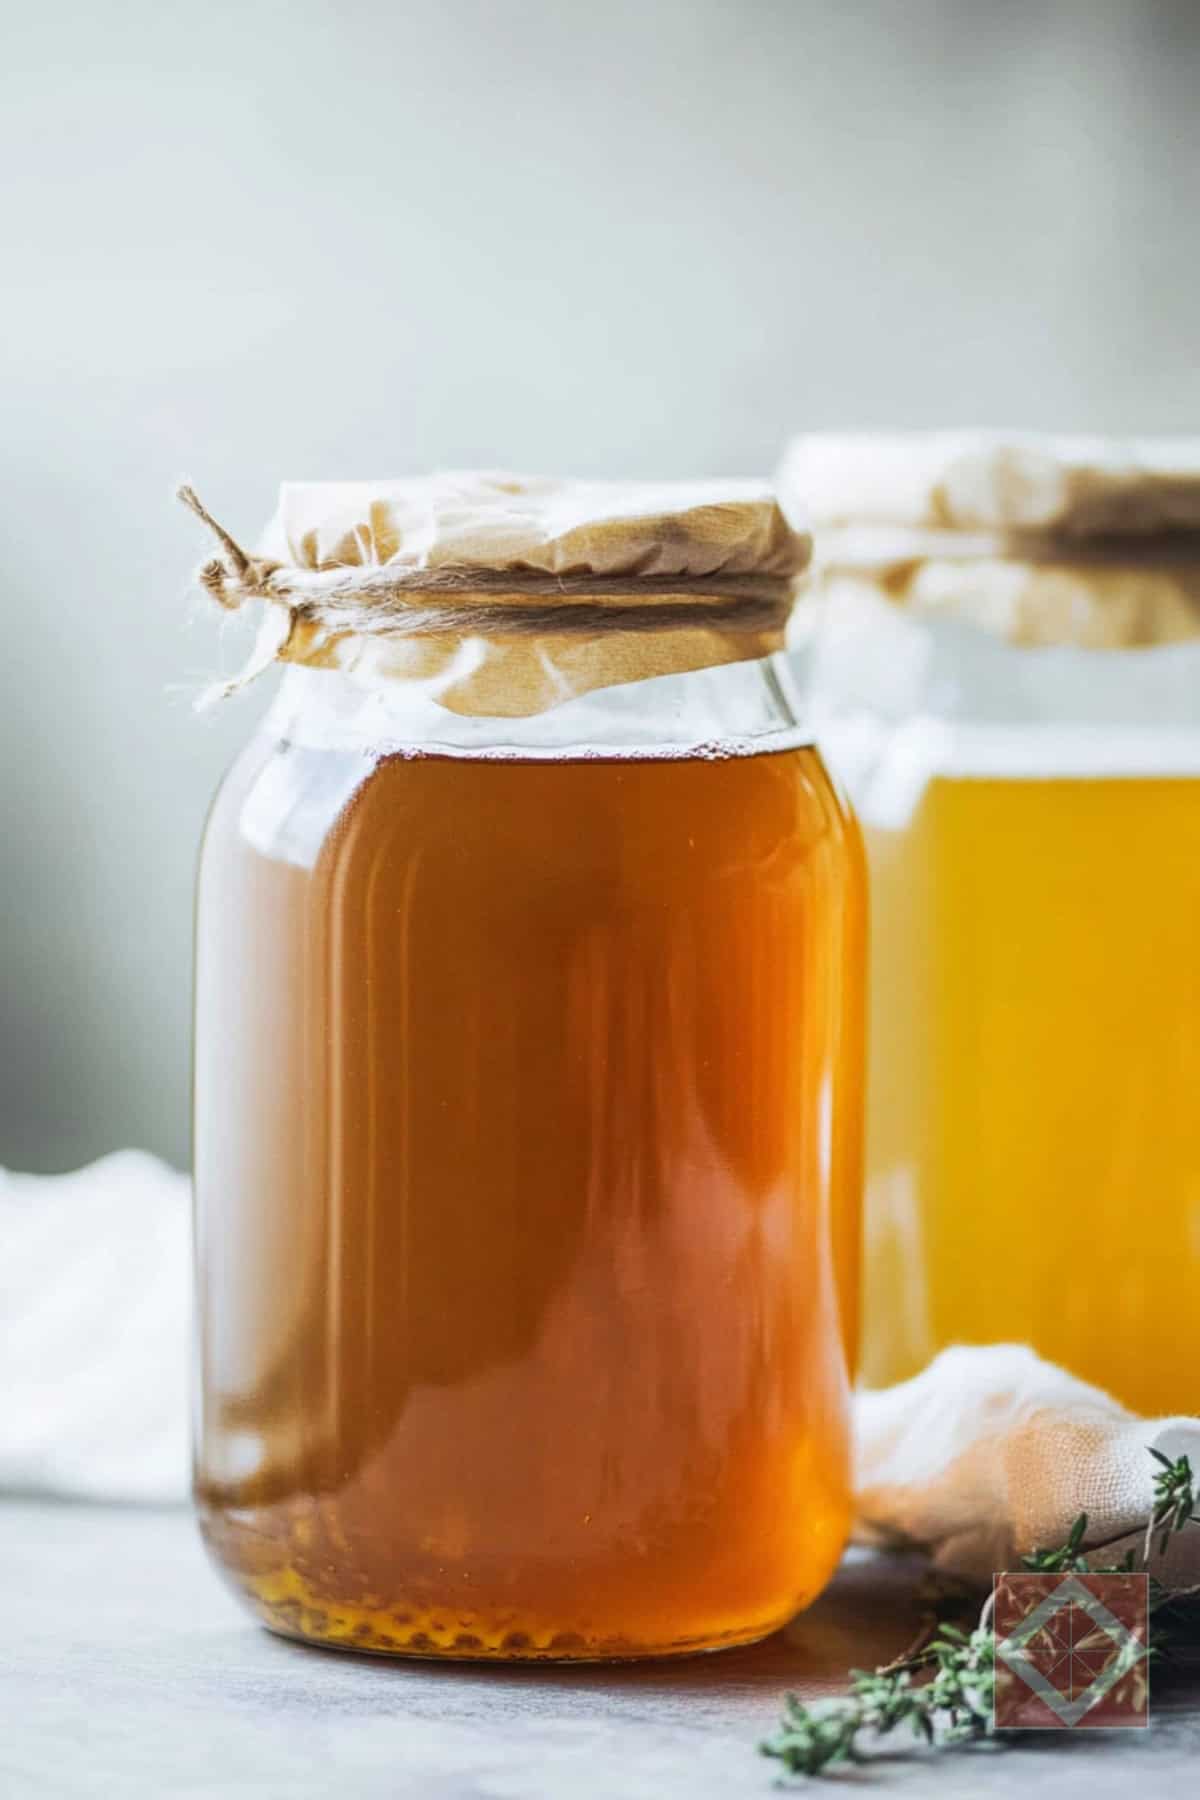
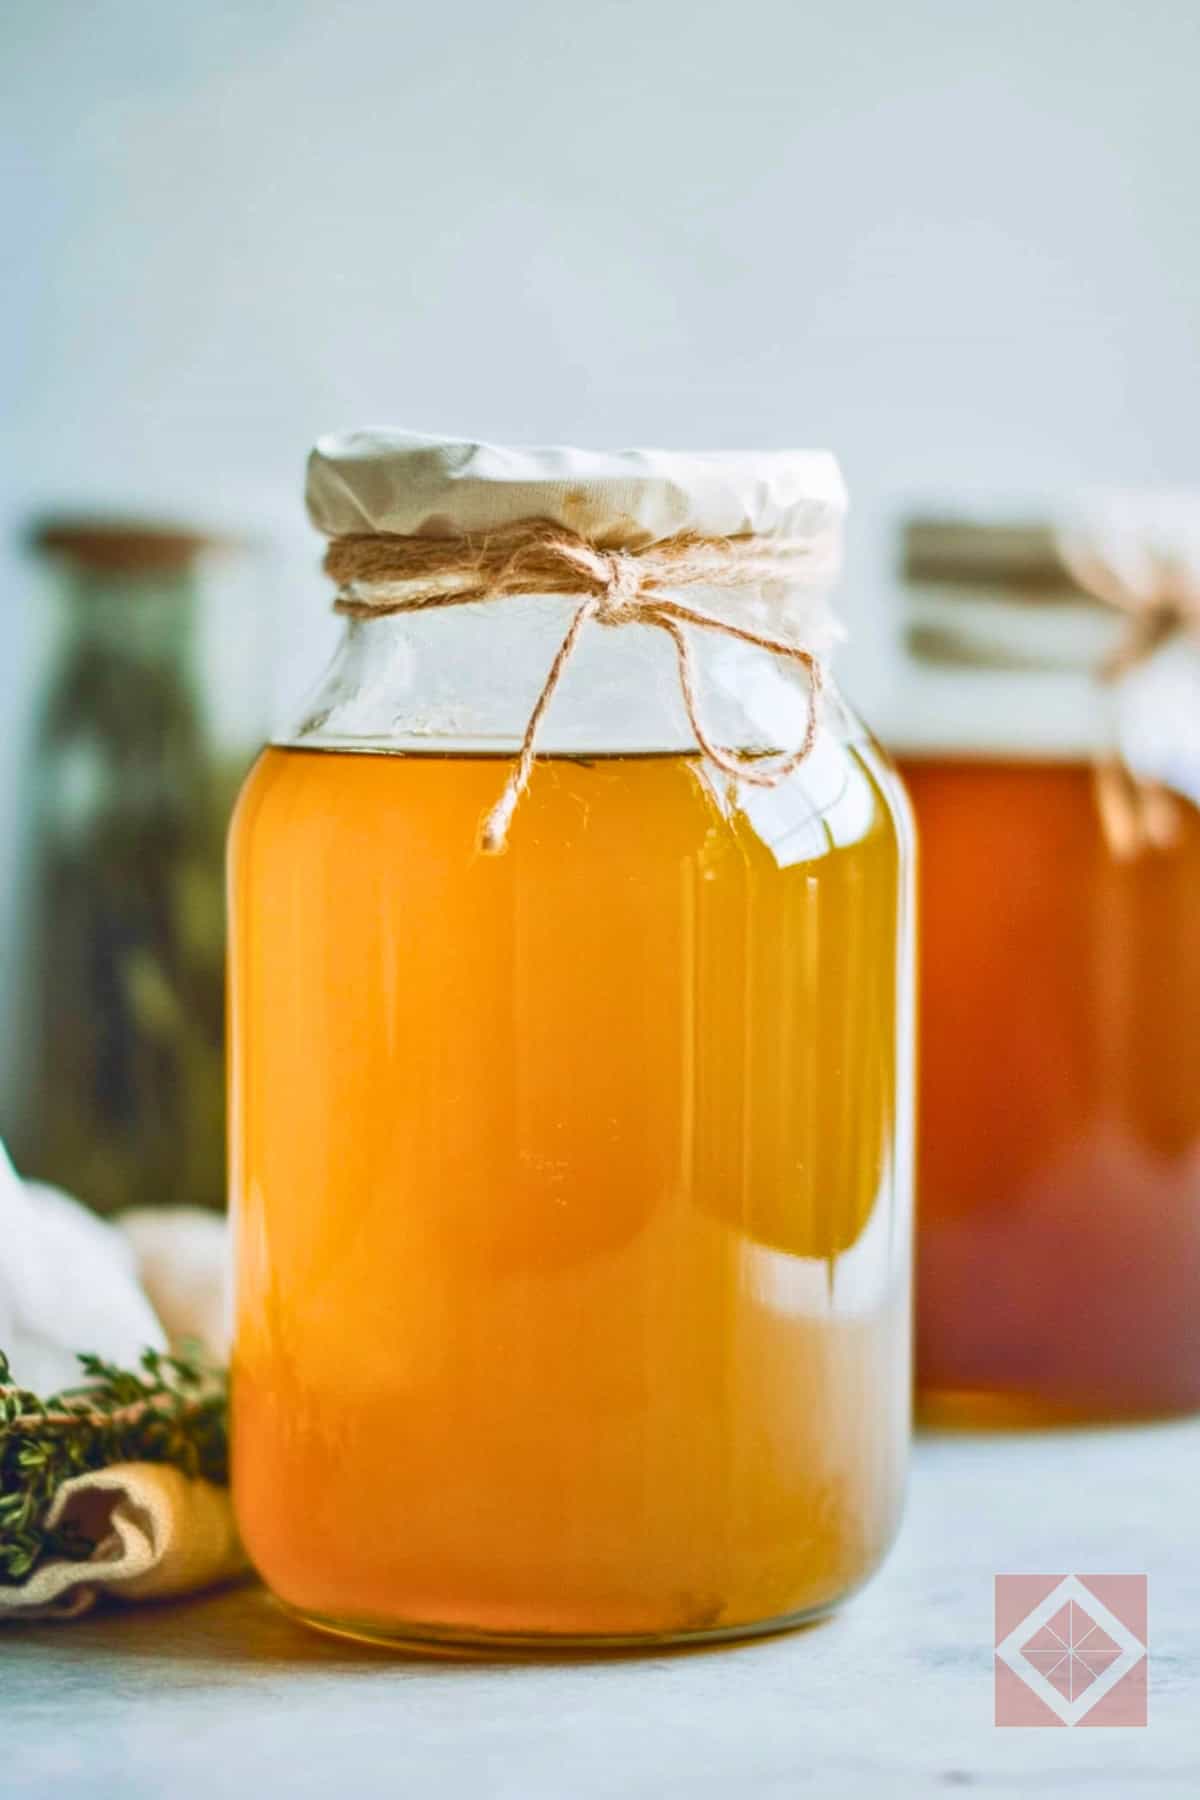
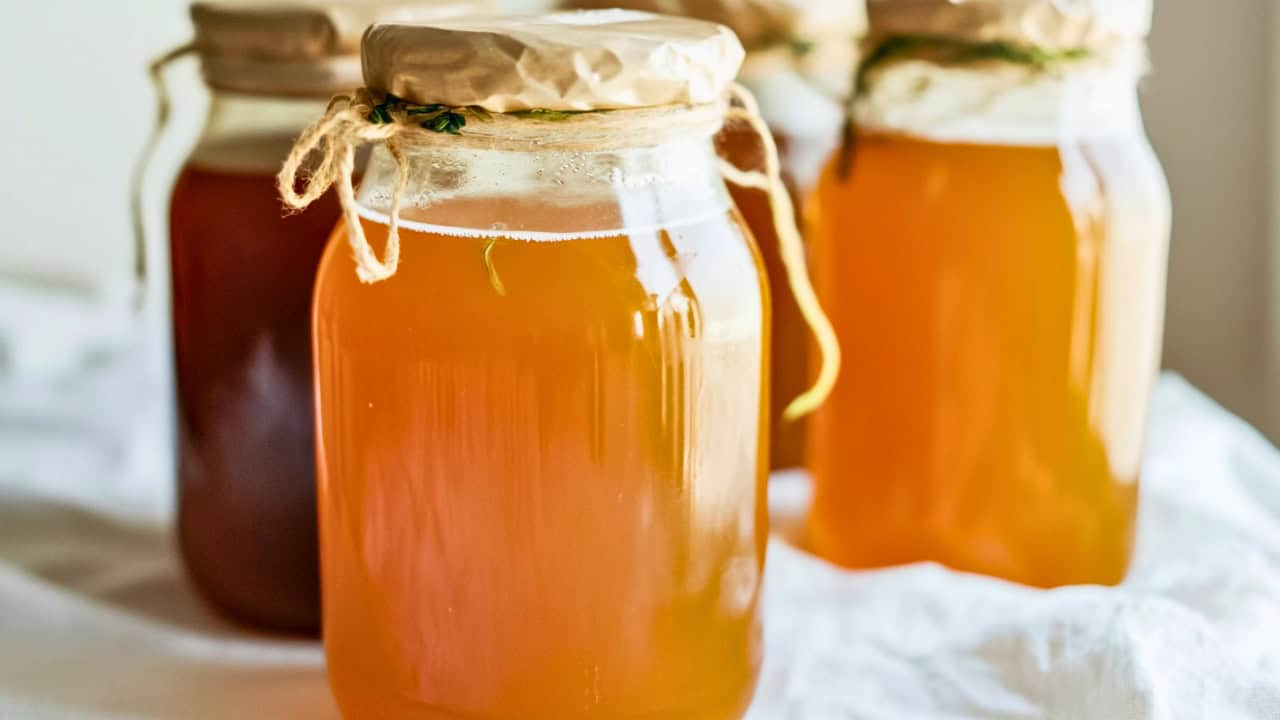
This ancient beverage brings together simplicity, nature, and tradition in one magical sip. Mead has been cherished for centuries for its earthy flavor, herbal notes, and subtle sweetness.
It’s easy to make and deeply rooted in old-world methods that emphasize minimalism and flavor depth.
Whether you’re crafting it for your own enjoyment or preparing a unique drink for your next gathering, this traditional recipe is a journey back in time worth taking.
Why This Mead Recipe Stands Out

Unlike commercial versions that are overly sweet or artificially flavored, this homemade mead balances the natural richness of raw honey with a beautiful blend of fresh herbs.
It offers a dry, lightly alcoholic finish that’s perfect for casual sipping or special occasions. You can also adjust the fermentation time to create a more complex flavor or a stronger brew.
This recipe focuses on an herb-infused style called “metheglin,” which adds depth and warmth.
Sage, rosemary, and thyme bring out aromatic notes that perfectly complement the golden base. The result is a smooth, drinkable mead that’s rustic yet refined.
Versatile for Every Occasion
This mead isn’t just for sipping solo—it’s a fantastic addition to holiday dinners, backyard feasts, or cozy nights indoors. Its flavor pairs effortlessly with savory Mediterranean dishes, roasted vegetables, and charcuterie boards.
Thanks to its modest alcohol content and natural sweetness, it also works well as a welcome drink or conversation starter at gatherings. Here are a few great ways to enjoy it:
- Serve chilled in small wine glasses as an aperitif
- Pair with cheese platters or grilled meats
- Bottle it as a handmade gift for friends or family
Diet-Friendly Modifications
This mead recipe is easily adaptable to different lifestyles and dietary preferences. By adjusting ingredients slightly, you can tailor it to your needs without sacrificing taste or texture.
- Vegan-friendly: Use vegan-friendly raw honey substitutes like agave syrup or date nectar, although this will change fermentation dynamics and flavor.
- Low-sugar: Allow for a longer fermentation period, which naturally reduces sweetness and alcohol content.
- Low-alcohol: Keep fermentation to 3–5 days and store in a cool place to minimize alcohol production while preserving flavor.
- Gluten-free: Naturally gluten-free when using dry ale yeast instead of traditional ale barm.
Tips for Getting the Best Flavor
Creating truly delicious mead takes more than just following steps—it’s about making small choices that build toward exceptional flavor. Here are a few proven tips:
- Use filtered spring water for a cleaner, smoother taste.
- Select raw honey with bold floral notes for deeper aroma.
- Add herbs only at the right time to preserve their full flavor.
- Avoid overboiling, which can strip away complexity.
- Allow to ferment in a cool, dark place to avoid bitter off-flavors.
I personally love adding an extra sprig of rosemary before fermentation—it makes the aroma absolutely intoxicating after just a few days.
How to Serve & Store Homemade Mead

One of the best parts of making your own mead is that it stores beautifully and improves with time. Once it’s ready, it can be served chilled or at room temperature depending on your preference.
If you let it ferment for just under a week, you’ll get a light, floral beverage. Letting it sit for up to 3 months develops deeper complexity and a stronger kick. Store in sterilized bottles with airlocks to maintain quality.
Here are a few serving suggestions:
- Rustic style: Serve in clay or ceramic mugs to lean into the medieval feel.
- Modern twist: Garnish with fresh thyme and serve in stemless wine glasses.
- Gift-ready: Bottle in clear glass with handwritten tags for homemade presents.
Whether you enjoy it immediately or wait for a richer, aged version, this mead delivers unforgettable flavor and artisanal charm.

Refreshing Summer Drink Mead Recipe
Equipment
- Large pot (at least 1 gallon capacity)
- Glass fermentation vessel (1 gallon or larger)
- Cloth or aluminum foil
- Airlock and stopper
- Siphon or bottle for storage
Ingredients
Basic Version:
- 1 gallon spring water
- 1 quart honey (3 pounds, 100% pure, preservative-free)
- 2 teaspoons ale barm or dry ale yeast
- Optional: 1 teaspoon yeast nutrient or booster adjust based on product instructions
Elgyn (Herbal) Variation:
- Add 2 cups fresh herbs such as sage, rosemary, and thyme
Instructions
- Add the water to a large pot and bring to a boil. Remove from heat and stir in the honey until fully dissolved.
- Return the pot to high heat and bring the mixture back to a boil. Skim off any foam or scum that appears. Boil for 5 minutes, then remove from heat.
- If using a glass fermentation vessel, cool the mixture to 98°F before transferring. If you’re adding herbs for elgyn-style mead, stir them in now while the liquid cools.
- Pour the cooled mixture into your fermentation vessel (glass or earthenware). Add the ale barm or yeast, and yeast nutrient if using. Stir until dissolved.
- Cover the vessel with cloth or foil. Let it sit out of direct sunlight for 3 to 7 days to ferment.
- Once fermentation settles, carefully transfer the mead to a bottle, avoiding the sediment at the bottom. Attach an airlock and let sit out of direct sunlight for 2 more days.
- The mead can now be consumed. For a clearer or stronger mead, allow to ferment up to 3 months. Do not seal the bottle during this time, as pressure may build.
Notes
- Cook Time: 5 to 9 days (up to 3 months for higher alcohol and less sweetness)
- Total Time: 5 days to 3 months (including fermentation)
Davin is a jack-of-all-trades but has professional training and experience in various home and garden subjects. He leans on other experts when needed and edits and fact-checks all articles.

